Home » pinterest

Tag: pinterest

Turkey Plates

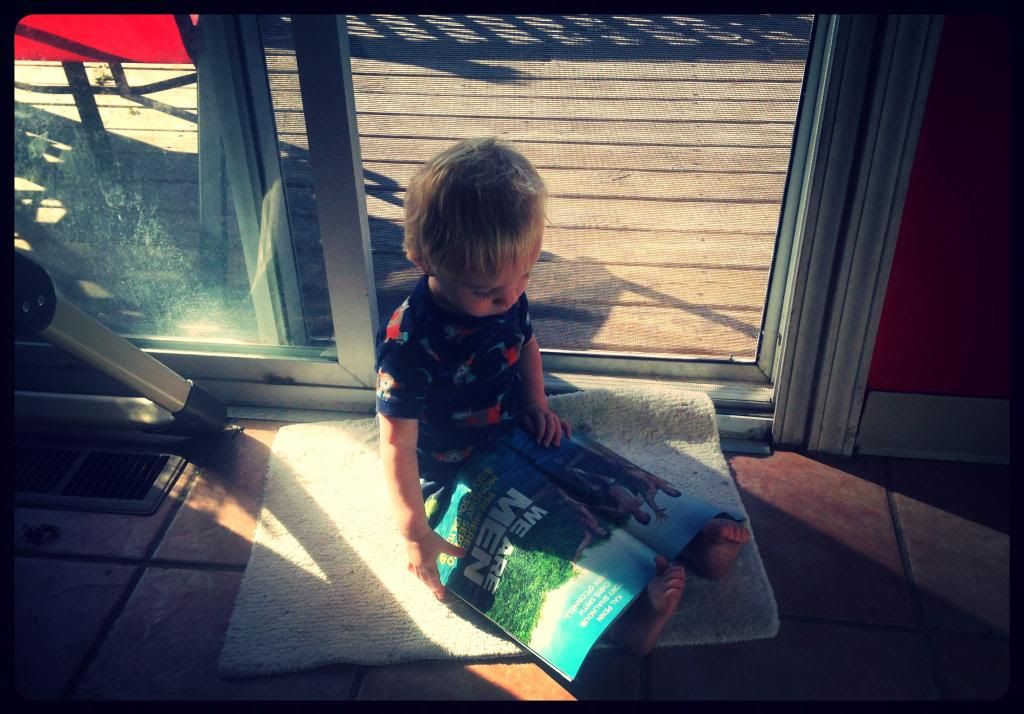
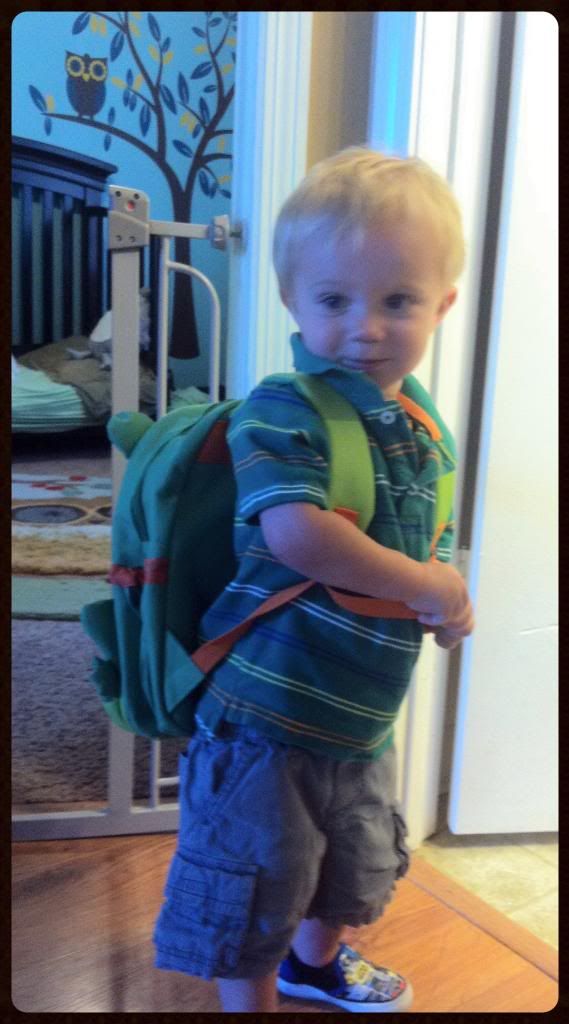
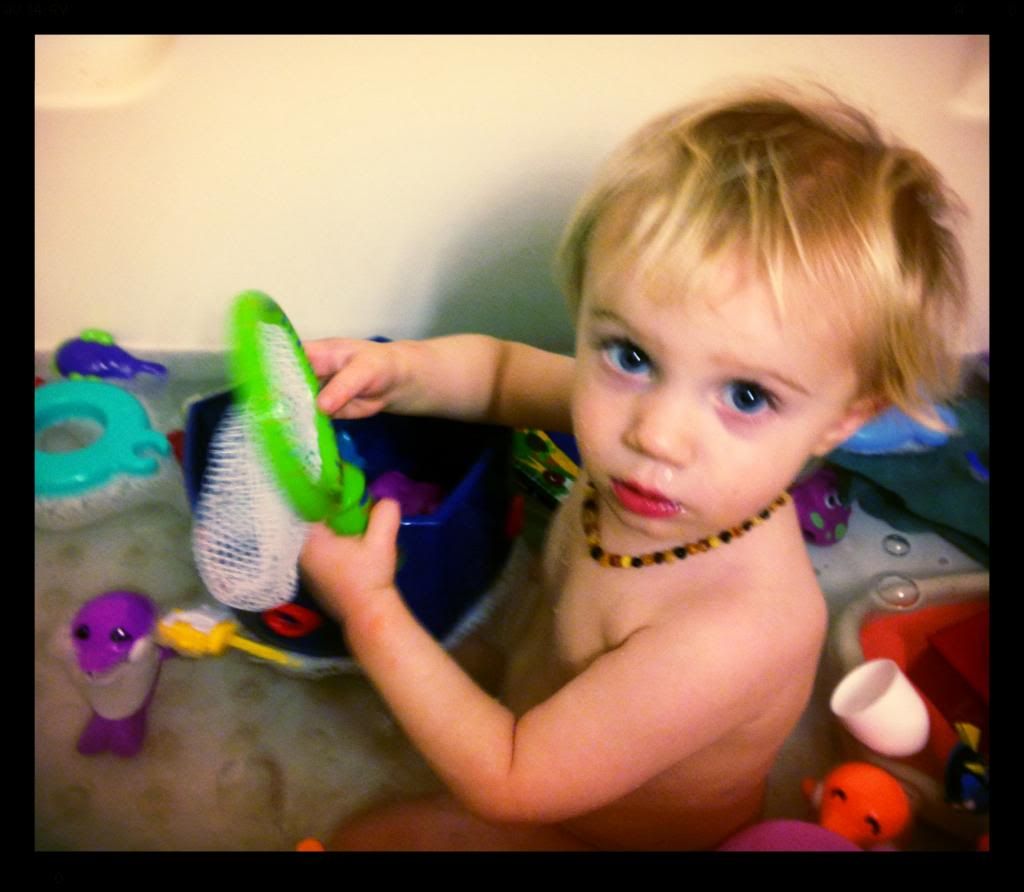
Tomorrow is Thanksgiving! Is everyone ready to eat lots and lots of turkey?! Monte is ready!

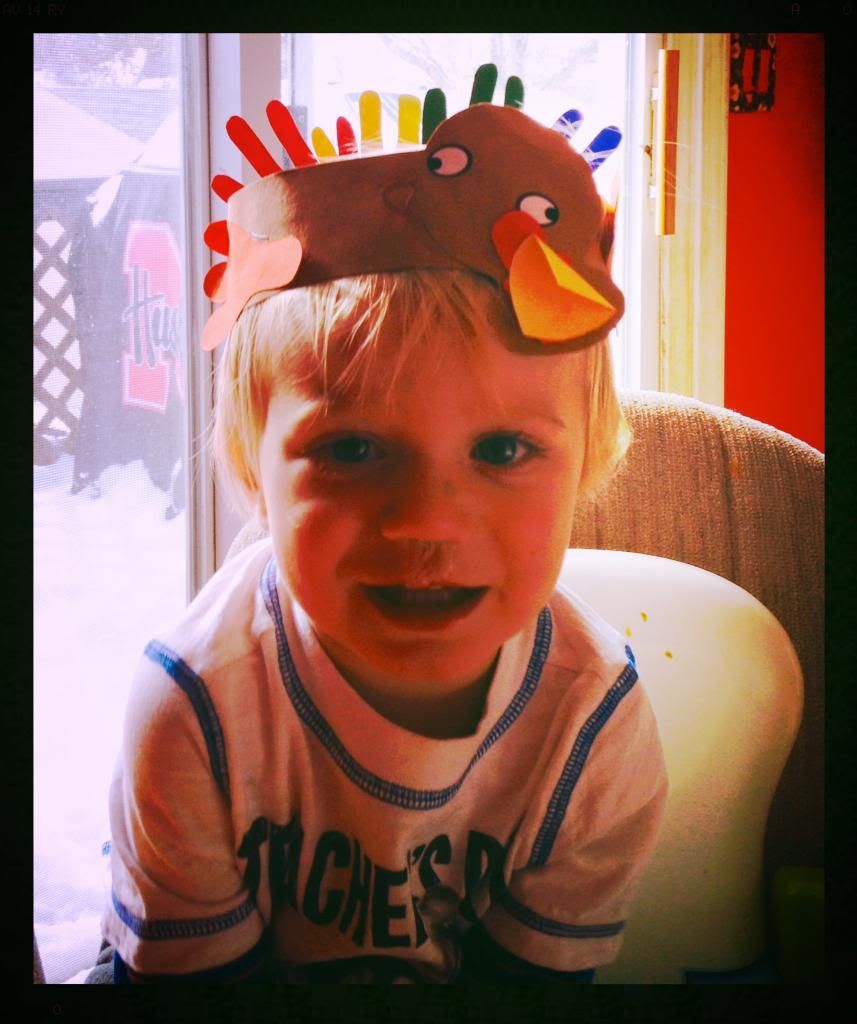
Excuse his snotty nose 🙂

I thought I would post one final Thanksgiving activity before the big day! This project was inspired by Cheap Crafty Mama’s turkey plates.

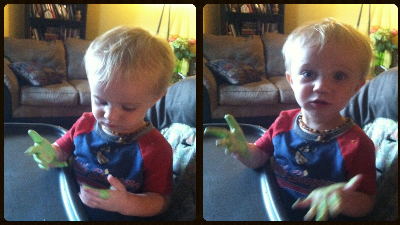
I was a little nervous making these hand-print, foot-print turkeys not knowing how well Monte would do. He ended up being very cooperative and had lots of fun!
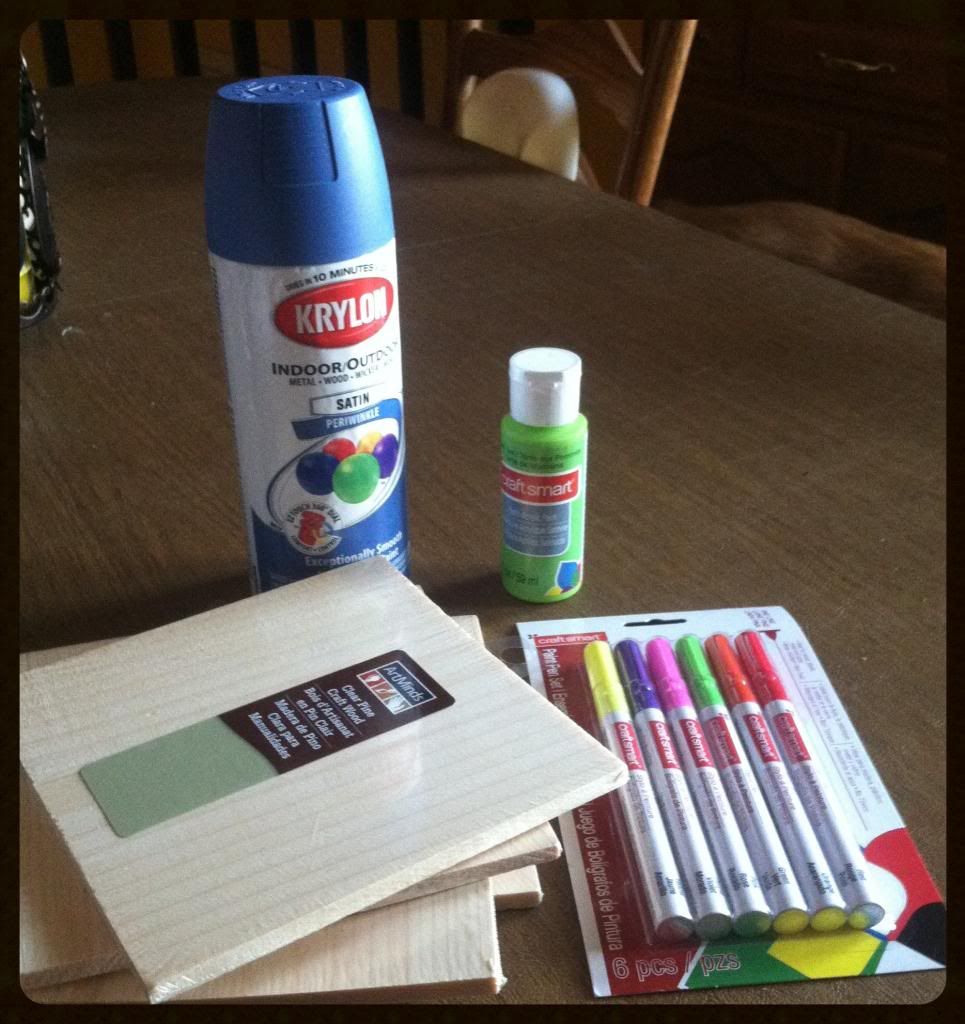
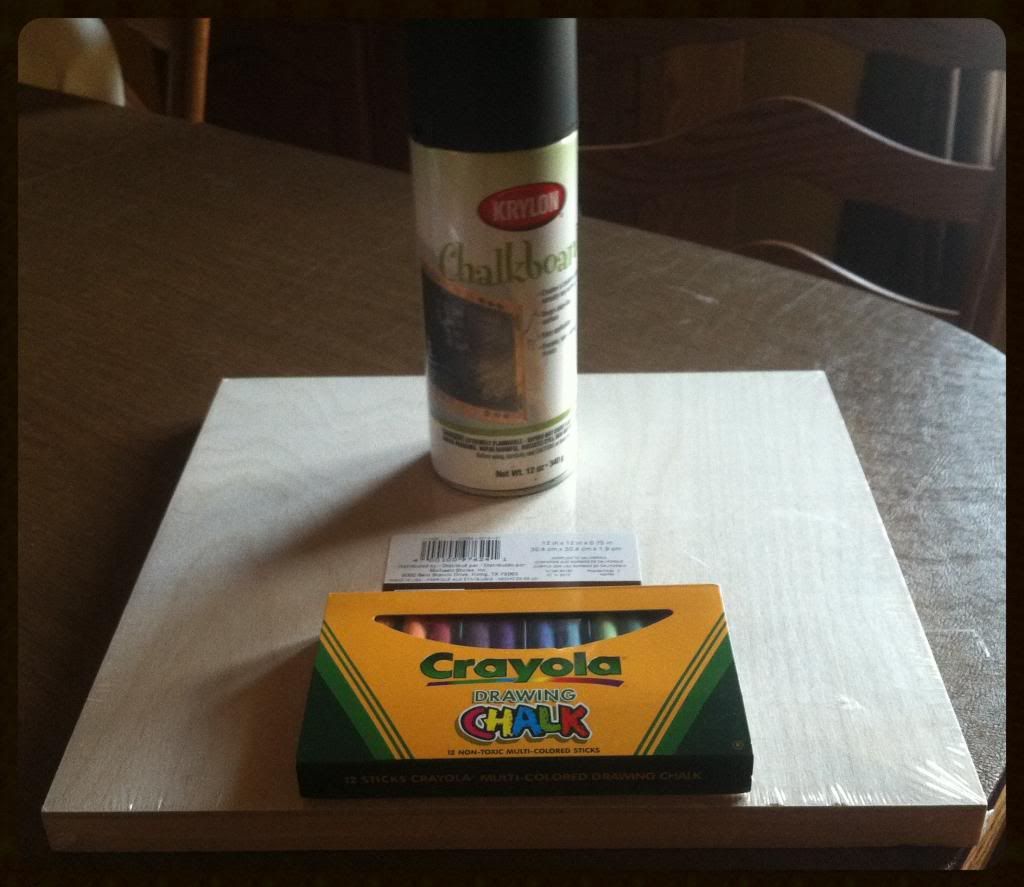
Supplies Needed

1. Porcelain plates for the Dollar Store

2. Acrylic paint various colors

3. Foam Brush

4. Paper plates

5. Googly Eyes

6. Hot glue gun

7. Permanent marker, puffy paint, or acrylic paint pens (something to write with)

Directions 

1. Gather all your supplies before you start! Because once you start, you do not want to be running around gathering more things while paint is at reach with a 2-year old! 🙂

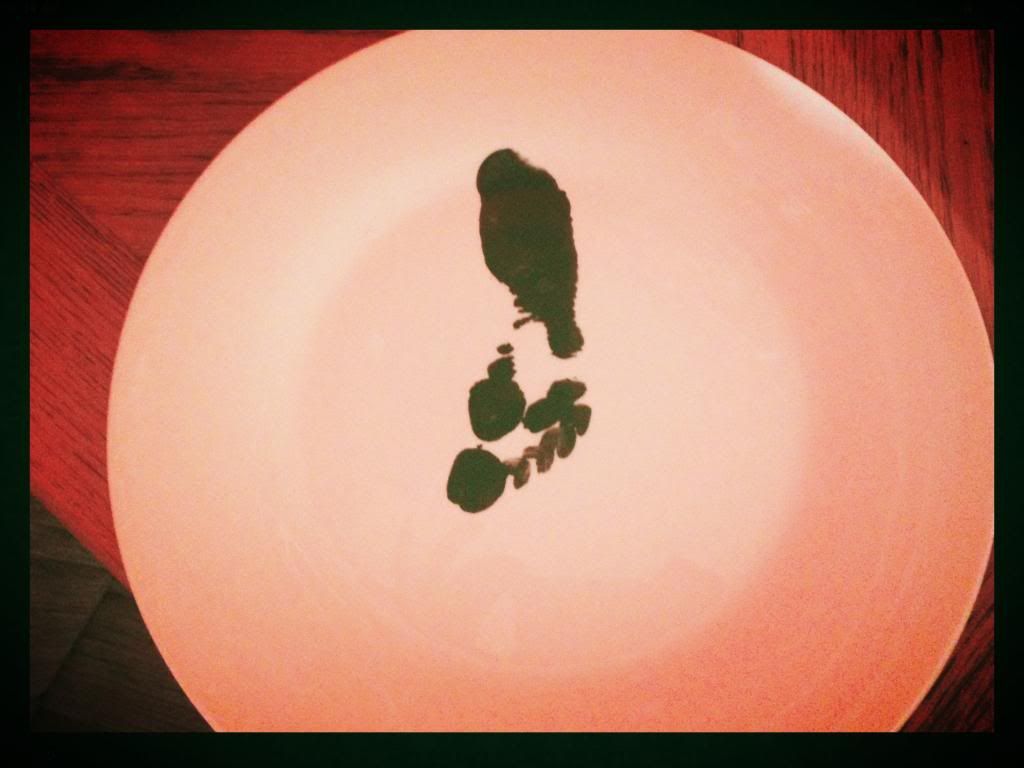
2. Squirt all your paints onto paper plates. Take your foam brush and brush the paint onto the bottom of your little ones foot. Instead of having them step onto the plate, bring the plate to their foot and make a print. Then wash off his foot!

3. Then start with the hand prints! I brushed a color on Monte’s hand, pressed it onto the plate, then immediately washed his hand off before he got paint all over our kitchen. It is helpful to have a bowl of warm water and towel near by.

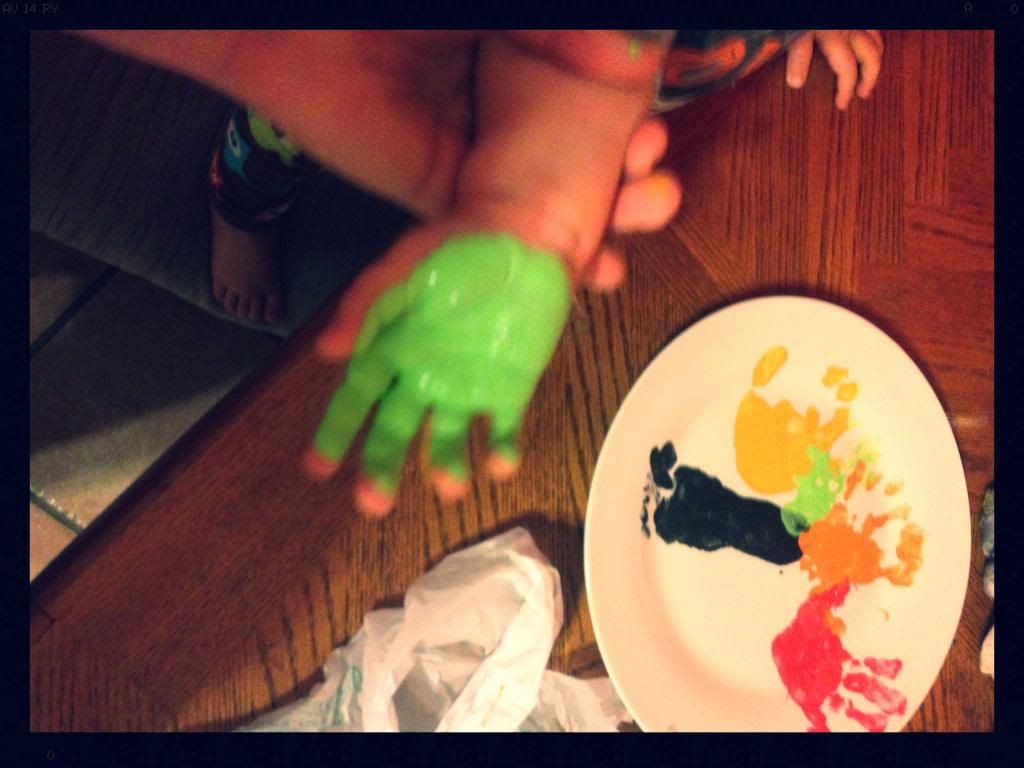
Monte enjoyed the brushing of the paint because it tickled 🙂

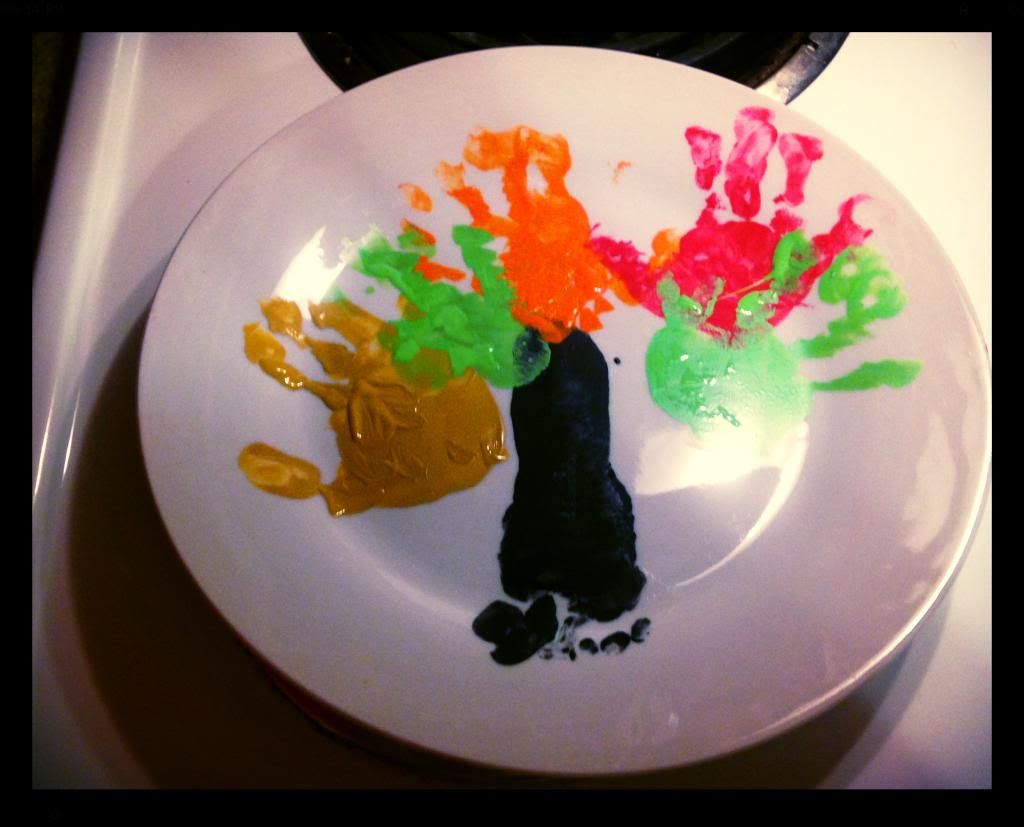
4. After we placed all of our hand prints around the foot, I went back through and filled the hand prints and foot print with paint where there were gaps.

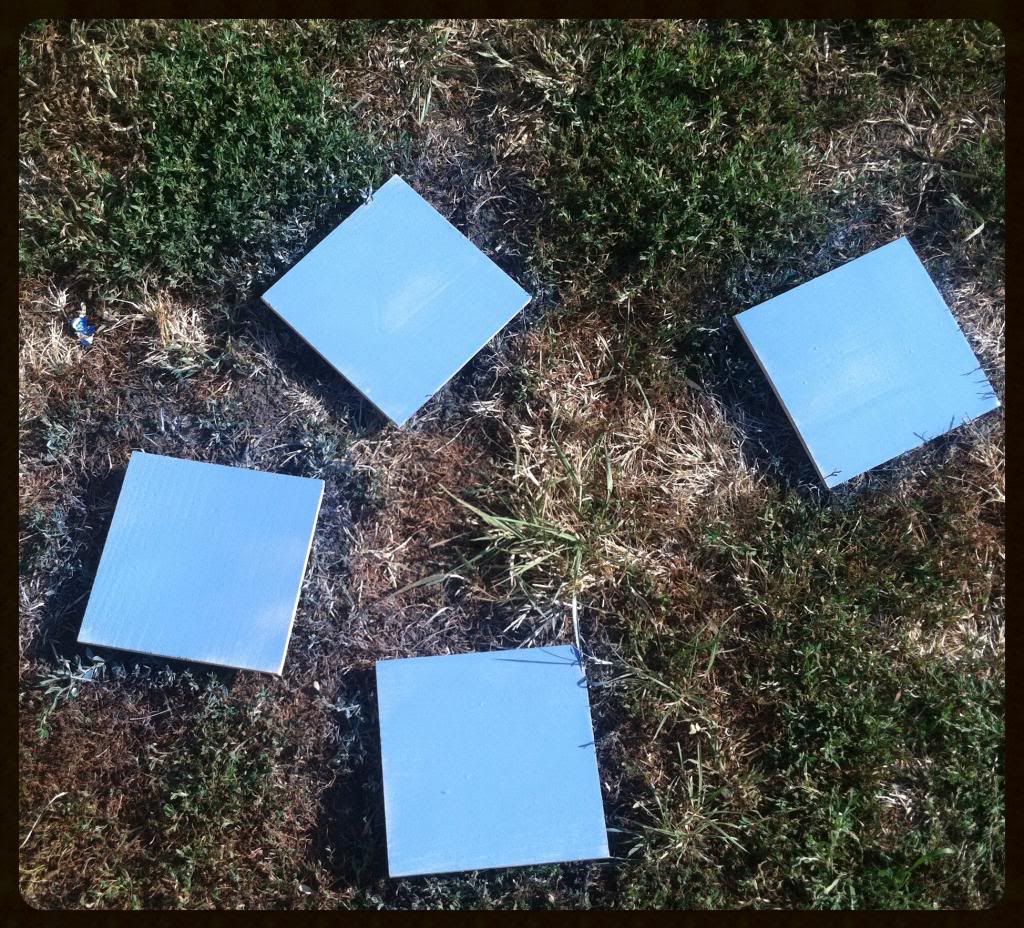
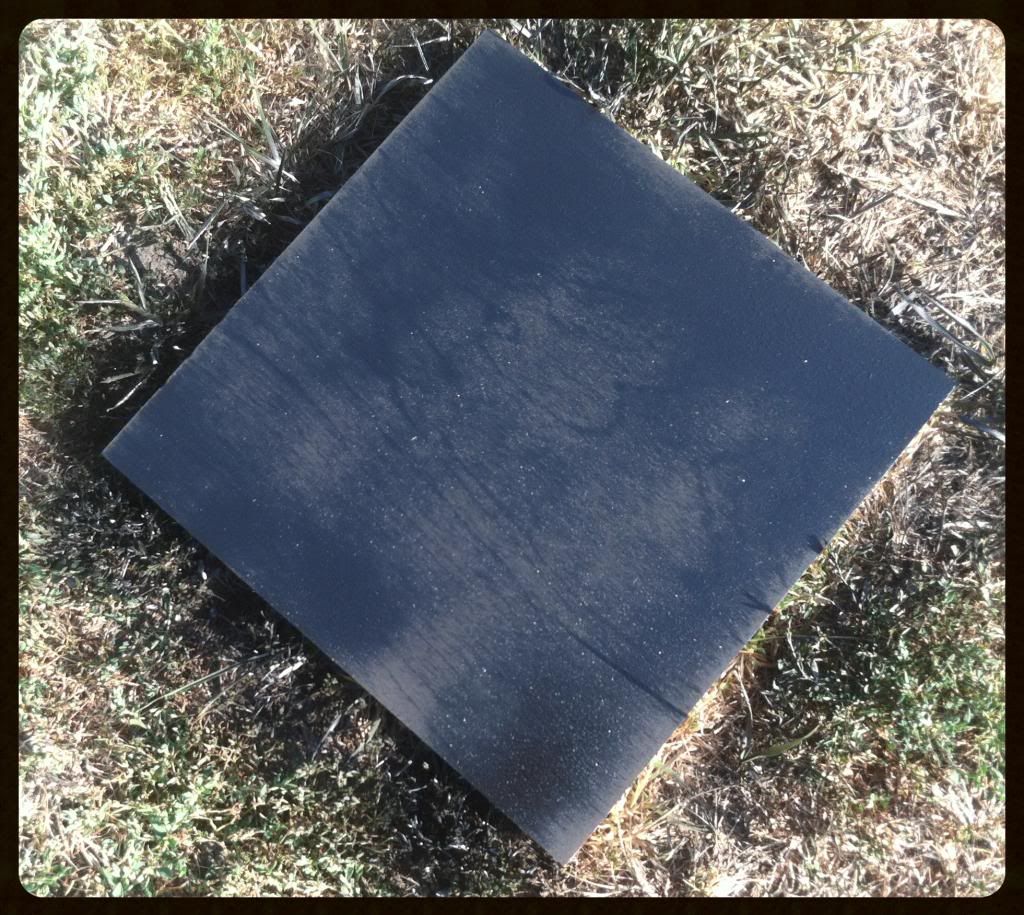
5. Let dry over night.

6. Give your kiddos a bath because they WILL be a mess 🙂

7. The next day, add your googly eyes with a hot glue gun and add your writing.

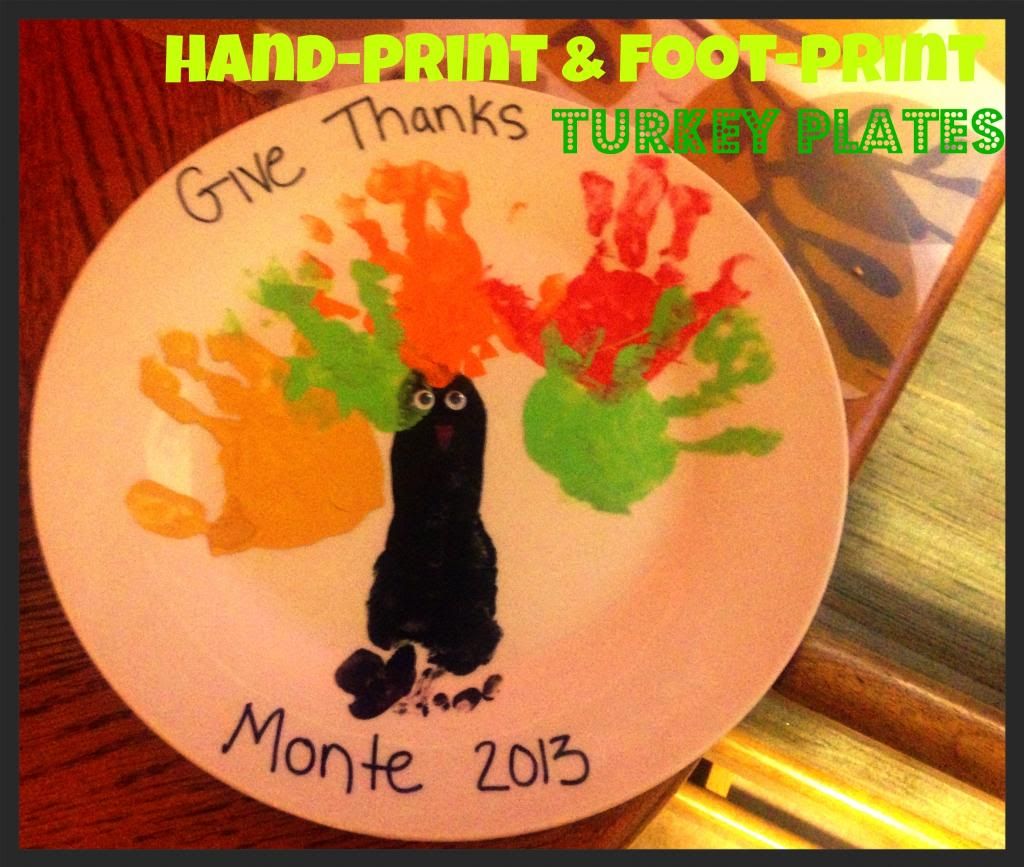
I plan to save one as a Thanksgiving decoration for years to come and giving one to my in-laws since they will be hosting Thanksgiving this year!

I hope everyone has a blessed Thanksgiving!

2013 Holiday Organizer

Yes, it’s that time of year again! Holiday music has been playing on a local radio station, since November 1st! And the stores have had their holiday decorations out since school started! So, pretty much if you have not started organizing and planning for the 2013 holiday season yet, you are way behind! 🙂

Last year,  was my first year to celebrate the holiday season with a kiddo and I created a Holiday Organizer. I must admit, it was VERY helpful! Whether you have a LOT of holiday planning, gifts to buy, things to bake, or just a few things to do; either way a Holiday Organizer will be helpful.

The great thing about creating a Holiday Organizer for yourself is you can determine what check lists, organizers, etc. YOU want to include in it.

This year I looked to Pinterest to get some inspiration and FREE printables to create my Holiday Organizer.

Here are the resources I used to create my 2013 Holiday Organizer:

1. 2013 Christmas Planner

  • Includes a cover page to put on the front of your organizer and LOTS of FREE printables!


2. Christmas Gift Tracking Printables

  • Colorful, fun printables to keep track of gifts you need to buy for your loved ones.


3. Printable Holiday Planner

  • Includes a 2013 calendar, binder cover, and budget form!


4. 2013 Holiday Planning Workbook

  • I printed this whole thing! I love the fun colors and there are a lot of useful sheets to help plan


5. Thanksgiving Planner

  • Since the holiday season begins with Thanksgiving, I created my very own planner for Thanksgiving. It includes items I will make for breakfast and what dishes I will be bringing to Thanksgiving dinner.


6. Holiday Bucket List

  • The front page of my planner is our 2013 Holiday Bucket List! (which I will be sharing soon). This way I can keep track of all the fun things we have done!


What things would you include in your Holiday Organizer?

Pumpkin Spiced Cream Cheese Rolls

Good morning everyone! I hope everyone had a fantastic weekend. I know it’s not Monday, but my week usually starts on Tuesdays 🙂

Anyways, I want to share another awesome fall recipe I found on Pinterest. I made it Sunday morning for breakfast. It was such a beautiful day Sunday that we sat outside and enjoyed our rolls out on the patio.

While I was baking Monte enjoyed himself, while reading a People Magazine 🙂

I found this recipe here. Of course I added a little something to change it up a bit!

Pumpkin Spiced Cream Cheese Rolls

Ingredients

Rolls

2 packages/cans  crescent rolls

4 0z cream cheese, softened

1/4 cup brown sugar

1/4 cup canned pumpkin

1/2 cup dried cranberries

1/4 teaspoon ground cinnamon

1/8 teaspoon fresh ground nutmeg

Frosting

4 oz softened cream cheese

1/2 cup powdered sugar

1/2 teaspoon vanilla

1 Tablespoon canned pumpkin

Directions 

1. Preheat oven to 350 degrees. Unroll crescent rolls to form 4 rectangles. Pinch the seams together to create one large rectangle.

2. Place the cream cheese, brown sugar, pumpkin, nutmeg and cinnamon into the mixer. I also added some dried cranberries! Beat it until it is well combined.

3. Split the mixture evenly among the rectangles and spread until about 1/2 inch from the edge.

4. Starting at the long end, roll them up and then cut into 1 inch pieces. I was able to get 3 small rolls out of each rectangle.

5. Place the rolls around 2 – 9 inch cake pans, sprayed with cooking spray. Place them along the edges, leaving the middle open so they can expand.

6. Bake for about 15-20 minutes or until golden brown. Meanwhile, mix up the ingredients for the frosting in a mixer until well combined.

7. When the rolls are done baking, pull them out and frost the rolls immediately so the frosting can melt on top of the rolls. Let them cool for about 10 minutes.

These cinnamon rolls are pretty small, but I really only needed 1 pan instead of 2. If it’s only going to be 2-3 people you can probably get by with halving the recipe.

I hope you enjoy them!!

Pumpkin Caramel Frosting Cake

It’s Monday!! How was everyone’s weekend? I hope everyone had a nice, relaxing weekend and enjoyed the gorgeous temperatures.

I had a great weekend and definitely enjoyed lots of fallish things including: football, pumpkin beer, Crockpot Apple Butter Ribs (recipe coming soon!), apple cider, AND a homemade Pumpkin Caramel Cake …. which leads me to the story of my failed attempt of homemade caramel 🙁

Travis’s mom and dad’s birthdays were on Friday so everyone came over Saturday evening to celebrate. I decided to make a Pumpkin Caramel Cake I found on Pinterest. The actual recipe can be found here.

The first steps are to make the caramel cream cheese frosting.

FROSTING

  1. 1 cup sugar
  2. 1/2 cup water
  3. 1/2 vanilla bean, split and seeds scraped
  4. 1 1/2 sticks (6 ounces) unsalted butter, softened
  5. 2 tablespoons heavy cream
  6. 1 pound cream cheese, cut into 2-inch cubes
  1. In a medium saucepan, combine the sugar, water, vanilla bean and seeds. Cook over high heat, stirring, until the sugar is dissolved. Using a wet pastry brush, wash down any crystals from the side of the pan. Cook over moderate heat without stirring until a medium-dark amber caramel forms, about 9 minutes. Remove from the heat and immediately stir in the butter and heavy cream. (Don’t worry if the butter separates.) Discard the vanilla bean.
Seems pretty easy right? I started with combining the first three ingredients.
This was also my first time using a vanilla bean. Before this weekend I had always thought a vanilla bean looked like well … a bean? Nope, it was long and looked almost like a twig. You can see the two halves floating around in the pot.
After the sugar dissolved, I turned down the heat to medium and waited for it to turn a “medium-dark amber color”. The recipe stated it would be about 9 minutes, but it was much longer then that when I began to notice the change in color. I would say 15 minutes?
It’s hard to tell by this picture, but this was my final product. I took the pot off the stove and added the butter and cream and discarded the vanilla bean.
2. Transfer the caramel to the large bowl of a standing mixer fitted with a whisk and beat at low speed until the caramel cools slightly and comes together, about 5 minutes. With the machine on, beat in the cream cheese, 1 cube at a time and beating well between additions, until silky. Transfer the frosting to a bowl and refrigerate until very firm, at least 6 hours.
The caramel looked great, but it definitely had a burnt after taste to it. I added the cream cheese hoping the taste would go away, but it didn’t. So I placed it in the fridge and continued onto baking the cake.

CAKE

  1. 2 cups all-purpose flour
  2. 2 1/4 teaspoons baking powder
  3. 1 teaspoon salt
  4. 1 teaspoon cinnamon
  5. 1 teaspoon ground ginger
  6. 3/4 teaspoon baking soda
  7. 1/2 teaspoon freshly grated nutmeg
  8. 1/4 teaspoon ground cloves
  9. 1 1/4 cups light brown sugar
  10. 4 large eggs
  11. 3/4 cup vegetable oil
  12. One 15-ounce can pumpkin puree
  13. 1/2 cup whole milk


3.Preheat the oven to 350°. Butter and flour two 8-inch round cake pans. In a medium bowl, whisk the flour with the baking powder, salt, cinnamon, ginger, baking soda, nutmeg and cloves.

4. In a bowl, using an electric mixer, beat the brown sugar and eggs at medium-high speed until fluffy, 3 minutes. Beat in the oil, then beat in the pumpkin puree. Alternately add the dry ingredients and the milk in 3 batches, beating well between additions.
5. Pour the batter into the prepared pans and smooth the tops. Bake for 40 to 45 minutes, until a toothpick inserted in the center of the cake comes out clean. Let the cakes cool on a rack for 20 minutes. Run a knife around the edges to loosen the cakes, then invert them onto a wire rack to cool completely.
6. Place one layer on a plate and spread with 1 cup of the caramel–cream cheese frosting. Top with the second layer and frost the top and side. Refrigerate the cake for 2 hours before serving.
The cake portion turned out great and I had no issues!
Saturday morning I ran out to the store and picked up another pound of cream cheese. I decided to just use a jar of caramel sauce I already had and mix in the cream cheese.
This frosting turned out a lot better and I felt more comfortable adding it to the cake!
I completely forgot to take a final picture of the cake 🙁 but it turned out great and everyone enjoyed it!
Check out the site where the original recipe was posted for an awesome picture of the finish product here!
Have you ever made homemade caramel before? What advice do you have for me so it doesn’t taste burnt?
 
Enhanced by Zemanta

Red Activity Box

I created a new, fun activity for Monte to do at my moms house! I got the idea off of Pinterest (where else?!?) and the inspiration actually came from here. I wanted to do a box full of everything that started with the letter “A”, but as I was going through the playroom, it began to be easier for me to collect items that were red. So, there is a mix of both in the box!

I had a random picture box, that I had not used yet. I used this to collect and store my items.

I started with these three books I found! My Little Red Book, Clifford’s Bedtime, and A. They work perfect for this activity!

I then cut out a HUGE letter “A” in red foam, I had leftover from the Foam Shape Activity.

(Excuse the odd shaped “A”)

I then found a bunch of large RED legos and cars!

I also cut out a large heart and placed a sticky note on it reading “color the heart RED!”

We need some RED snacks so I added red strawberries AND applesauce (I added red dye to it)

This is a great and inexpensive activity. You can use items you already have at home! It’s a great way for your kiddos to learn their colors using items they already see and play with everyday!

What fun activity do you do with your kiddo to learn colors?

Grandparents Day 2013

Today is Grandparents Day! Happy Grandparents Day to all of you Grandmothers, Grandfathers, Great Grandmothers, and Great Grandfathers!

Not many are aware that there is a national holiday to celebrate grandparents. When I told my husband the other day that we were working on a project for grandparents day he was like “huh?”

It was in 1978 when Grandparents Day was officially recognized as a national holiday. It was the goal of Marian McQuade to make the youth aware and educate them the importance of seniors in our community. McQade wanted to make them aware of how much seniors have contributed to our history and also encouraged the youth to “adopt” a grandparent.

At first, Grandparents Day was only recognized by the state of West Virginia. When the idea of it being proclaimed as a national holiday was proposed and brought to the U.S. Senate, it died. McQade organized supporters, congressman, etc. in all fifty states for it to become a state holiday. Once she had proclamations of 43 states, she sent copies of the proclamations to Senator Randolph. At that time the U.S. Congress met again and requested that President Jimmy Carter sign a proclamation that proclaimed that the first Sunday after Labor Day, every year, be National Grandparents Day.

The statute cites the day’s purpose: “…to honor grandparents, to give grandparents an opportunity to show love for their children’s children, and to help children become aware of strength, information, and guidance older people can offer”.

All of this information was taken from Wikipedia and can be found here.


Grandparents Day Tiles

I have several ideas posted on my Pinterest page of ideas for gifts to give for Grandparents Day.

Monte and I found this idea here, but I changed it up a bit.

While I was at Michaels purchasing stuff for my DIY chalkboard, I picked up the supplies needed to do this project. Instead of tiles, I purchased wood squares, a can of colored spray paint, acrylic paint for Monte’s hand, and paint pens. All of this cost me about $25.00.

I then took the four boards outside and spray painted them. The spray painted I used was for indoor/outdoor use and left a glossy finish. On the can it said it dried in about 10 minutes. It DID dry quickly! I was able to get a couple coats sprayed, on both sides, in about an hour.

The next day, was the fun part! I had Travis help me with brushing paint onto Monte’s hand and placing it on the tiles. Monte did not really understand what was going on and was more interested in what the gooey stuff was on his hand.

MonteHandprint

Afterwards, I let the hand print dry then took the paint pens which are AWESOME and wrote in Grandparents Day 2013 and Love, Monte.


Monte’s First Day & DIY Chalkboard

Today was Monte’s first day of “preschool”!


Yeah, it’s not really preschool, but he is attending the Parent’s Morning Out Program through West Des Moines Methodist Church. I have been VERY excited about this since I signed him up! He will be going every Friday for a 2 1/2 hours in the morning. It will be a fantastic opportunity for him to meet others his own age, make friends, and do some learning!

West Des Moines Methodist Church offers different schedules and classes you can sign up for. The program Monte is in, is specifically for 18 month to young 2’s. They also have a 2-year old program and 3-old program. For the younger ones you can choose once, twice, or three days a week. For the older children you can choose two, three or four days a week.

Today was the first day, but everything has been so organized thus far. They provided an orientation, schedules of parties and certain activities, schedules of “spirit days” (they are the Preschool Pandas!), and the staff has been so helpful and friendly! I definitely recommend!

Click here for more information and costs!

DIY Chalkboard

To prepare for the first day of school, I have been in search of a chalkboard! I am sure you have all seen on Etsy and Pinterest the new “thing” to do is have your child next to a chalkboard labeled with the event that is going on. I think it’s adorable, so I jumped on the bandwagon! Except, even though this is so popular, I could NOT find a small, individual chalkboard anywhere! So, I made my own 🙂

I got the idea from friend on Facebook! Her idea was to actually spray a white canvas with chalkboard paint. I did a little variation of her idea.

I went to Michaels (my second time there this week!). I purchased a 12×12 wood board, chalkboard spray paint, and Crayola chalk (bright, fun colors). I had a 40% off one item coupon, so my total was about $20.00 for everything.

I went home and took the board outside and spray painted it. I let it dry for about 30 minutes and sprayed it again. I let it dry for another 30 minutes, flipped it over, and sprayed the other side!

The instructions on the spray paint can, instruct you to take a piece of chalk and rub across the whole board, then wipe off before using. After doing this, it wasn’t so black it had that chalkboard effect on it.

Its pretty cool how well this turned out! I love it! The only difference, you cannot use a classic chalk eraser to erase the chalk. I used a damp towel to wipe it after I used it and i came off great!

Do you do anything special for your kiddos first day of school?

Clean with Thieves

Let’s talk about Thieves Essential Oil. You will learn quickly that I am a huge fan of essential oils for various things and various reasons. Today, I want to tell you about one of my favorite essential oil blend from Young Living Essential Oils, Thieves!

Thieves is well known for its cleansing abilities and “is highly effective in supporting the immune system and good health”. Due to it being known for its cleaning abilities Young Living offers a household cleaner, spray, wipes, lozenges, toothpaste, hand soap, mouthwash, and more!

The essential oils included in this blend are: clove, lemon, cinnamon, eucalyptus radiata, and rosemary. With all these combined you can imagine it smells wonderful!

Since having Monte I get concerned about the things his little fingers touch and what he puts into his mouth. Thieves is all natural and extremely safe, so I feel much better using this product as my go to for cleaning then other common household cleaners.

Here are a list of various things I use Thieves for:

1.Homemade Laundry Detergent

Most homemade laundry detergents pretty much include the same things, depending on what you are looking for. If you check out my Pinterest board here you will find several different recipes, ways to store, etc. It comes down to how much you want to spend, what you are looking for, and the ease of making it.

This recipe includes …

3 cups Borax

3 cups Super Washing Soda

3 bars of Ivory bar soap

15-20 drops of Thieves essential oil

1. First you add the Borax and Super Washing Soda to a bowl or canister you are using.

2. Then grate the bars of soap.

3. Combine the grated soap with your mixture.

4. Then add your Thieves essential oil.

This lasts us about 3 months if you use 1-2 scoops per load. I also love it because I can use it on my sons clothes too. It doesn’t cause any rashes for him. Before I started making this we were using Dreft for all his clothes, but that stuff can be expensive so I tested it out and it works well!

I bought all of these ingredients at once and have made the detergent twice now and still have some leftover, which means this is also VERY inexpensive to make!

2.  All-Purpose Cleaner

Instead of using the actual essential oil I use the Thieves Household Cleaner which you can purchase here. With the household cleaner you just add a little bit to whatever concoction you are making up. You can add as little or as much as you want. On the back of each bottle it lists a dilution ratio that you can follow if you want.

All-Purpose Cleaner 

Small amount of Thieves household cleaner

Fill rest of the bottle up with water

** I need to get some cuter labels for my bottles!**

3. Cloth Diaper Bin

If you use cloth diapers you know how stinky that can get. When I take out all of the dirty cloth diapers and liner, I place about 3-5 drops of Thieves essential oil on the bottom of the bin. It helps take away the smell instantly! It also absorbs onto the bottom of the cloth liner when I put it back in, which makes it last a bit longer.

4. Shower Cleaner

 You have probably seen this image and pin floating around Pinterest. This is where I got my idea!

Instead of dawn dish soap, I use the Thieves cleaner! I put a very small amount in the handled sponge and then fill the rest with vinegar. It is soooo easy to keep up with cleaning the shower/bath this way. I just keep the sponge in the shower at all times and about once a week I will take it and do a big scrub down. You can also take it out of the shower and scrub down your sink area too.

What are some of your favorite DIY cleaners?

Happy Hump Day!

Happy Hump Day! Yes, it’s Wednesday! We have made it through half of the week and I am looking forward to the weekend.

Have you made it out to the Iowa State Fair yet? If you have not, you have only 5 days left to check it out! You do not want to miss the “one and only”.

This week has been gorgeous out. The weather is hinting towards Fall and it is getting me more and more excited. Yesterday, I opened up our whole house and it felt so nice to get some fresh air. Monte is also enjoying the nice weather. He has been playing outside a lot!

If you look verrrry closely … Monte is down underneath the willow tree playing. He loves it under there!

Yesterday I worked on some Pinterest projects around the house. One project I have been working on since Memorial Day! I HAVE to get it done soon! I will definitely share them, when they are finished.

I also did some baking and cooking. I made Banana Oatmeal Breakfast Muffins and Greek Marinated Chicken. They both turned out great!

I started with the muffins. I have been craving some baked goods in the morning, so I found this recipe to see if it would curb that craving. It is also healthier! So far, it has worked! They are delish!

The original recipe for the Banana Oatmeal Breakfast Muffins can be found here. But, below are the small changes I made!

Ingredients:
2.5 cups old fashioned oats

1 cup plain low fat greek yogurt

2 eggs

1/2 cup honey

2 tsp baking powder

1 tsp baking soda

2 TBSP ground flax seed

1 tsp vanilla

2 ripe bananas

Instructions:

1. Preheat oven to 400 degrees. Spray tin with non-stick cooking spray or line 12 muffin tins with silicone or foil liners.
2. Place the oats in the food processor and pulse for about 10 seconds.  Add remaining ingredients to the food processor.

3. Process until everything is mixed together and oats are smooth.

4. Divide batter among cupcake liners, and bake for 18-20 minutes, or until toothpick comes out clean.

I started by taking the oats and flax seed and placed the ingredients in my Vitamix (which I LOVE).

I pulsed it until it was a flour mixture.

Then I added all the ingredients INCLUDING dried cranberries! This made 18 large muffins!

I also made the Greek Marinated Chicken. I made a few changes to the recipe, which you can find below but the original recipe can be found  here.

I used Greek plain yogurt and I used only about 1 1/2 pounds of chicken. The recipe called for 3 1/2 – 4 lbs of chicken, but while I was making the marinade, I felt that if I added more chicken you would not be able to taste much flavor. I also did not marinade for 30 minutes in the fridge. I took everything, mixed it really well in a large bowl and made sure the chicken was coated. I then placed the chicken directly into a 9×13 baking dish and placed it into the oven.

Boy was I right! I am glad I only used 1 1/2 lbs of chicken because the flavor was wonderful! Our house smelled amazing too! We even had a little leftover, so I can put in a Flat Out with baby spinach and a laughing cow wedge! I definitely recommend this recipe!

What new recipes have you tried this week?