Home » paint

Tag: paint

Holiday Pinterest Crafts

This past weekend one of my good friends came to town with her kids and we did some FUN Holiday Pinterest crafts! Every year we get together before Christmas to have a gift exchange and do fun crafts. Here are a few things we did, that I highly recommend checking out!

Fleece Christmas Tree

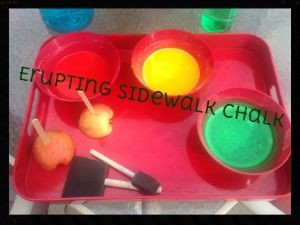
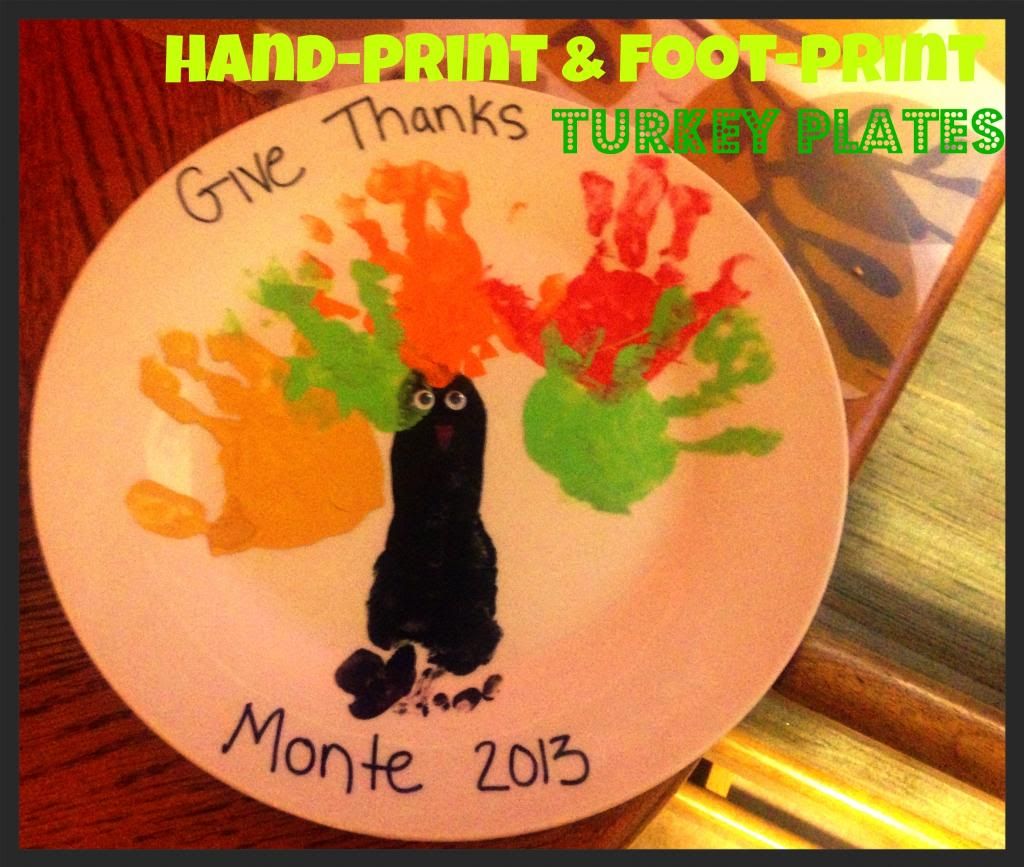
I came across this idea, last year, but never got around to doing it, because I was so nauseous with baby Amelia ๐Ÿ™ But I finally got it done and Monte loves it! The daycare kiddos also enjoy it so it’s a win-win!

Canvas Snowflakes

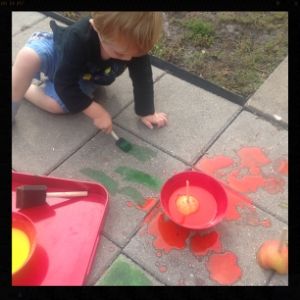
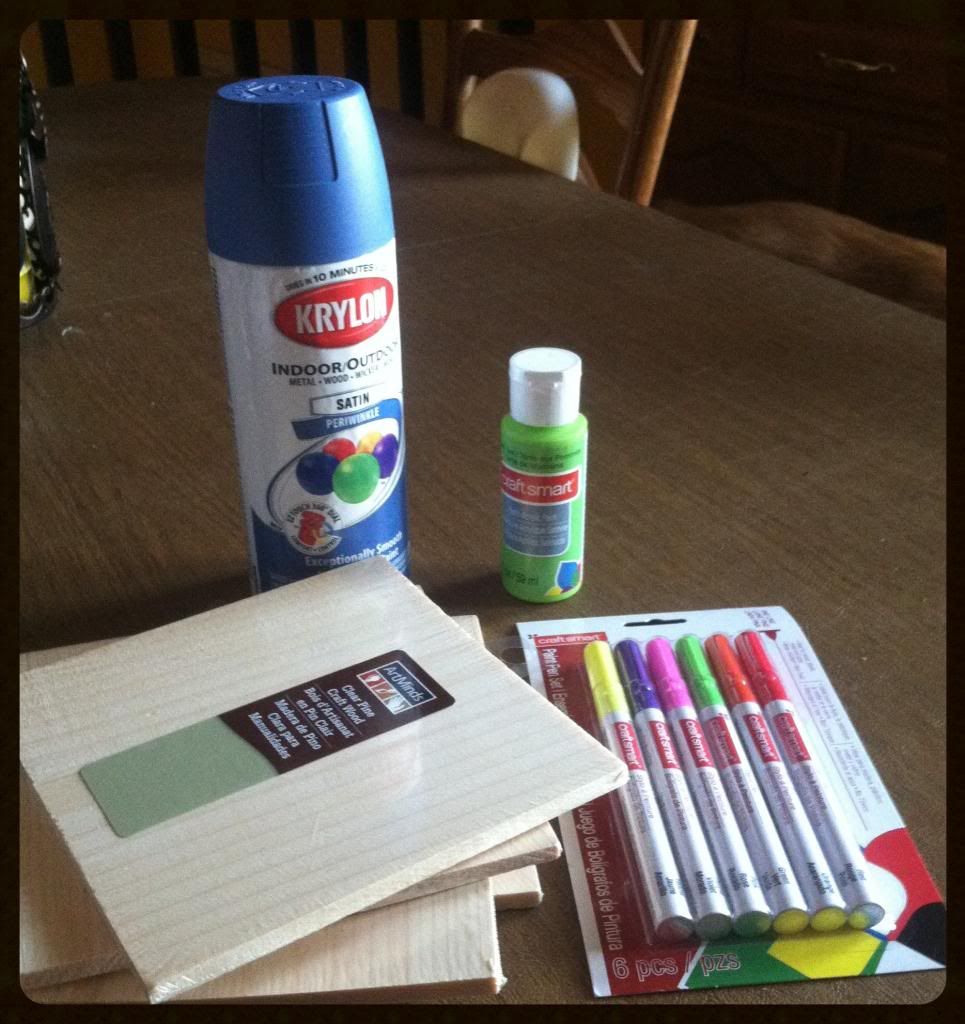
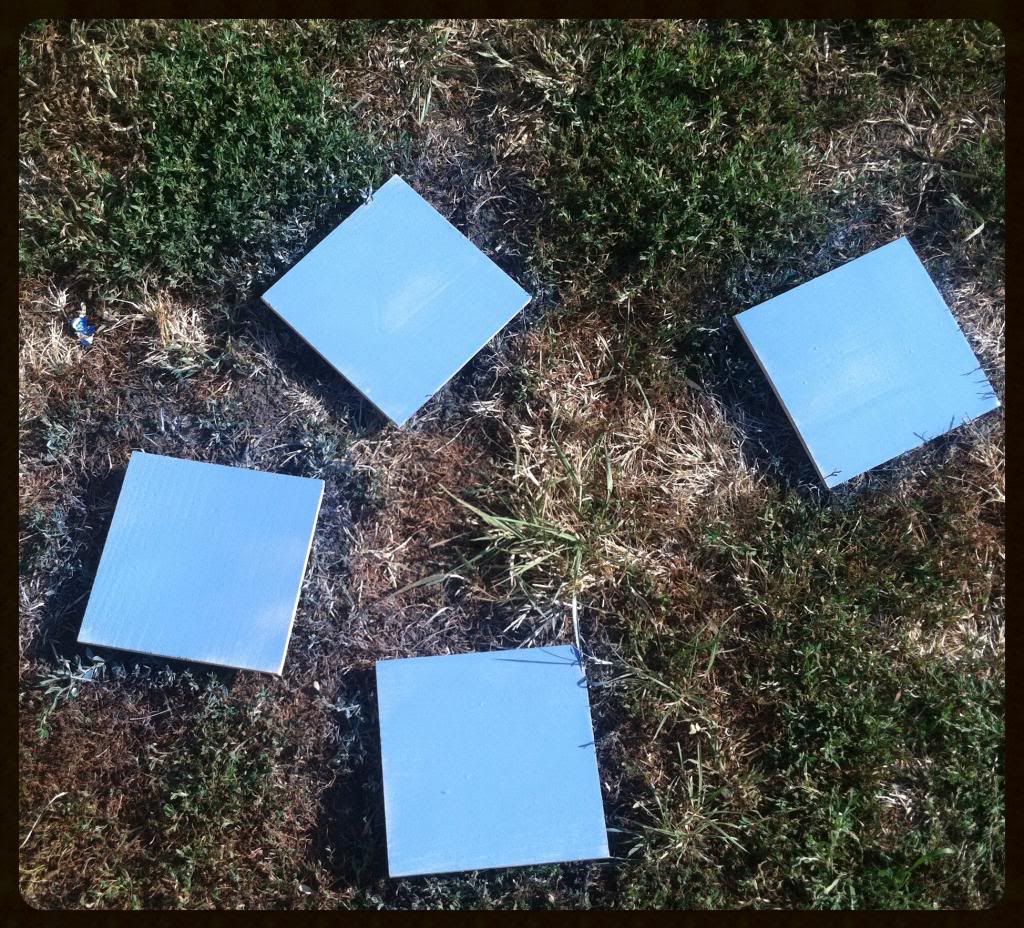
This was a perfect project for the older kids. They got to choose what colors to use and had fun painting! Monte always loves painting and the hardest part is to tear him away from the paints when we are done. All you need is paint, canvas, and masking tape. Place the masking tape on the canvas so it looks like a snowflake. Then let the kids paint …

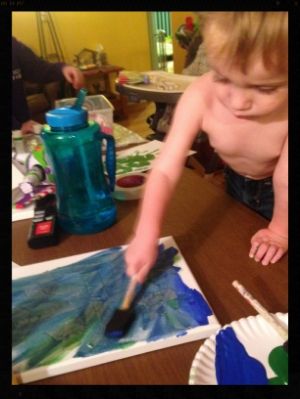
After they are done painting and the paint is completely dry, slowly remove the paint …

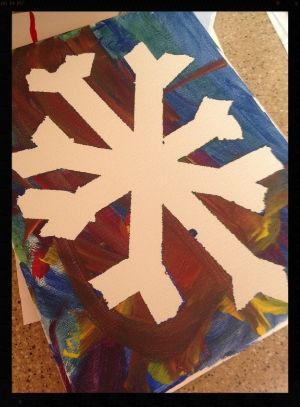
You end up with a pretty snowflake! An awesome decoration for the home that can be used all winter long!

Mistletoes

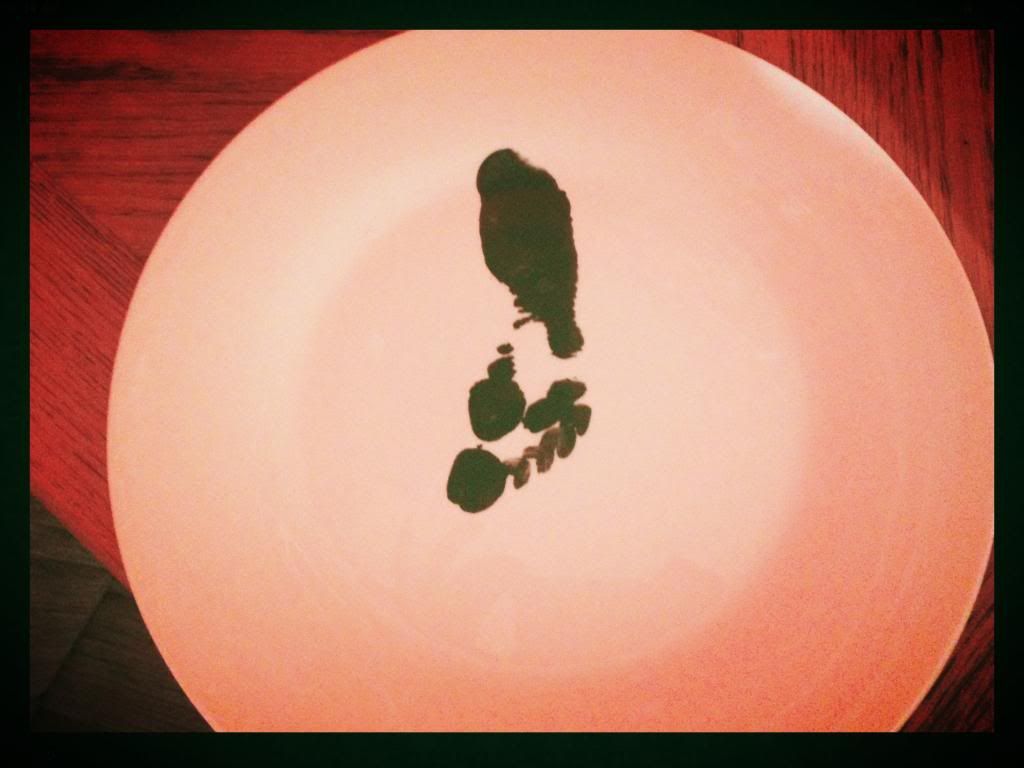
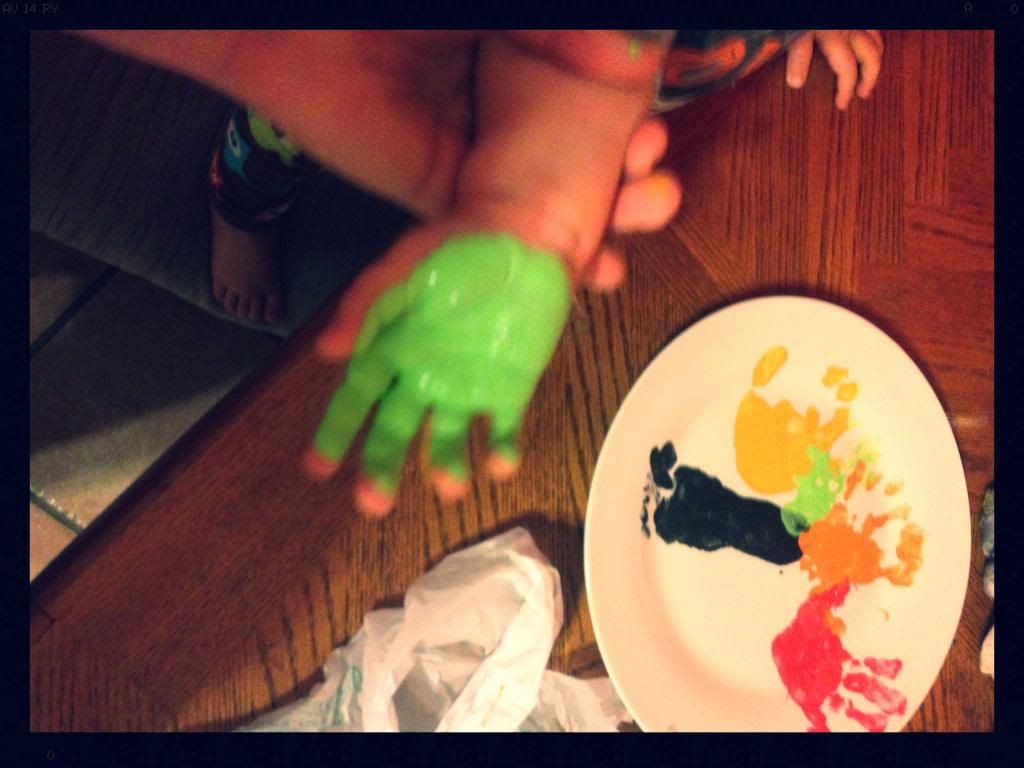
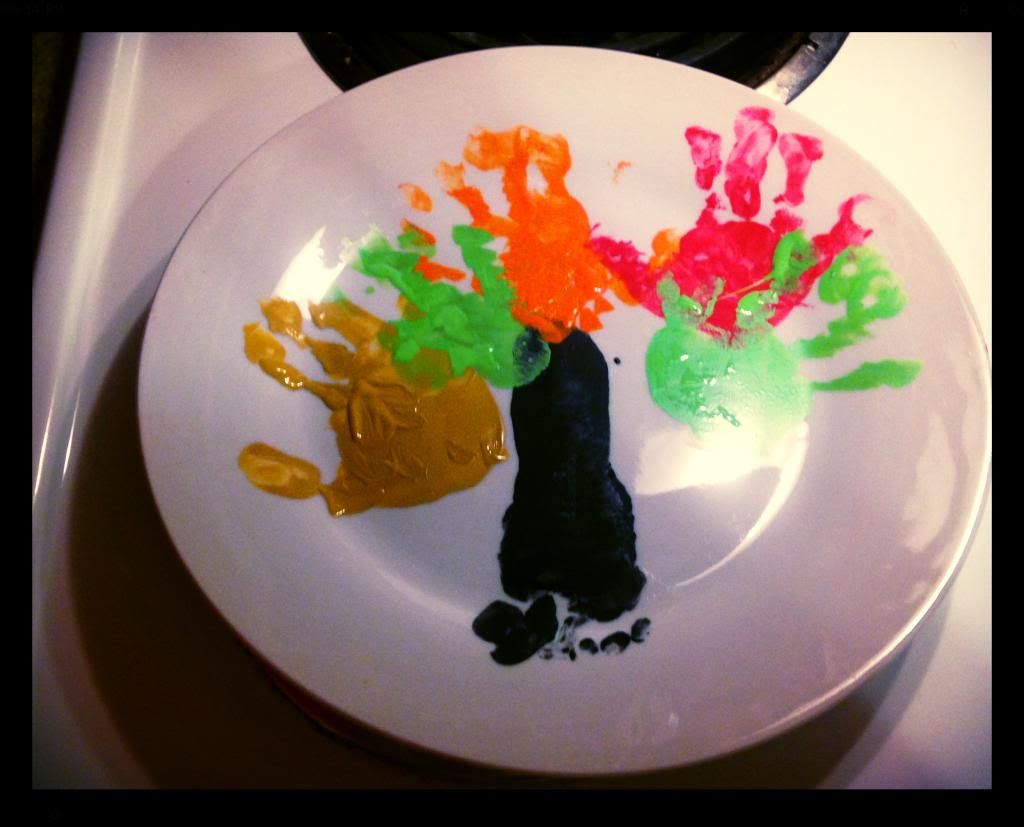
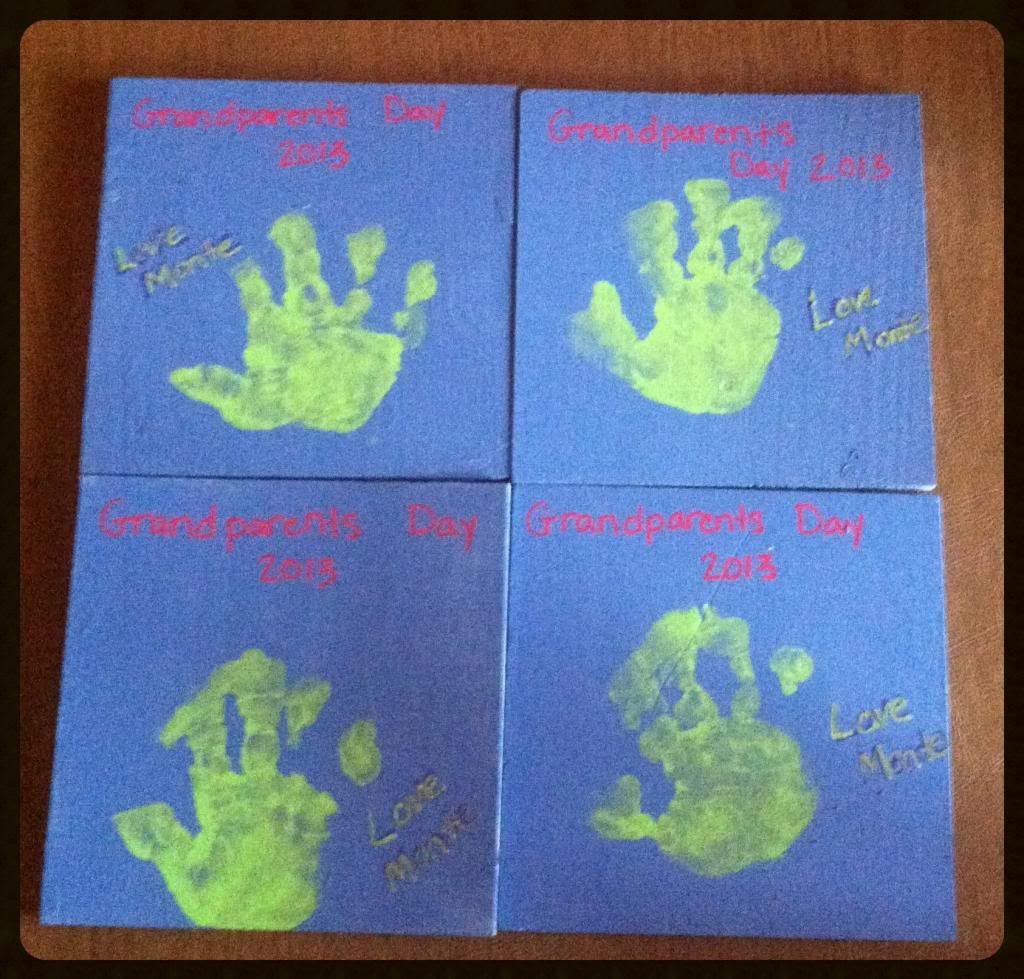
I absolutely loved this project and it turned out great. It is very easy to do with a baby and even easier if you have a helper to help place the painted feet on the canvas. We made one on a canvas for a decoration and made more prints on card stock for the Grandparents.

What holiday crafts are you doing this season?
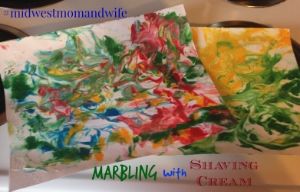
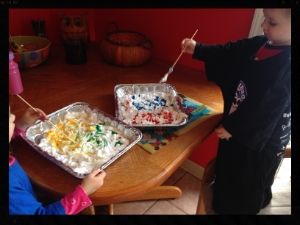
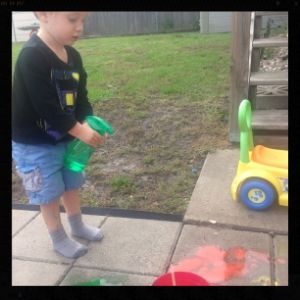
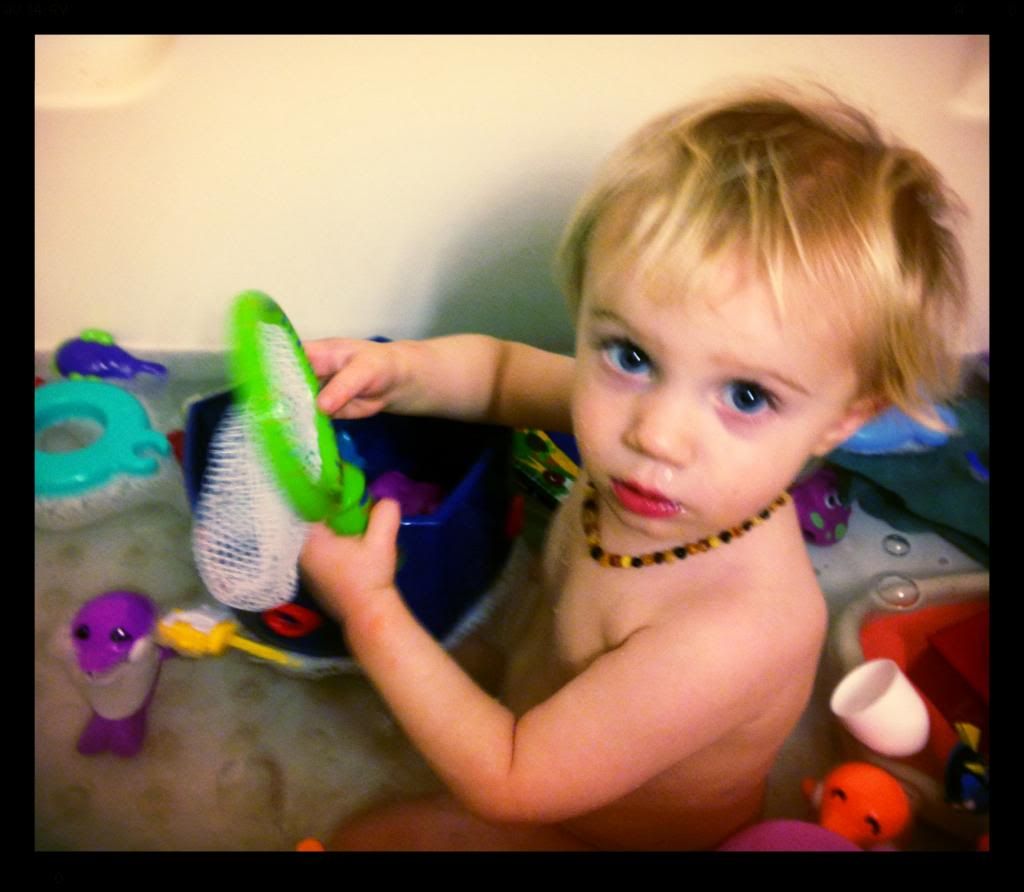
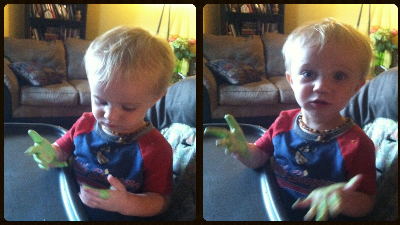
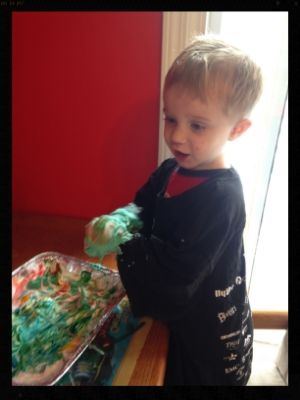
Marbling with Shaving Cream

I came across another fun and easy activity on Pinterestย … Marbling with Shaving Cream!

There are all sorts of tutorials on Pinterest for this activity. I used this site as a guideline. This is what we did!

Supplies

  1. Foam shaving cream – I always have several cans on hand because there are so many activities that use shaving cream!
  2. Shallow dish – You can use a 9×13 glass dish or pan. I have some foil ones, I have kept for other activities I’ve done.
  3. Food coloring – You can use water color paints, tempera paint, etc. Whatever you may have on hand.
  4. Thicker paper – You do not want to use regular printer paper, otherwise it wont hold up well. We used 8×10 white card stock.
  5. ย A wooden dowel – I happened to have this on hand and it worked really well for swirling, You could also use a plastic knife, popsicle stick, a finger (that may get messy). Whatever you think is best!
  6. Butter knife – You use this to scrape off the excess shaving cream off the paper.

Directions

  1. Squirt shaving cream into your shallow dish and squirt several colors of food coloring into dish.
  2. Give child a wooden dowel or whatever utensil they will be using for swirling.
  3. Swirl away!

This quickly became a sensory activity ๐Ÿ™‚ Monte really enjoyed the feeling of the shaving cream. Good thing I put them in their painting shirts!

4. Once they are done swirling and creating their design. Take your piece of paper and place it down into the shaving cream. Press it down with your hand. Then slowly pull it up.

5. Flip it over, take your butter knife, and scrape off the extra shaving cream over the sink.

6. Set it to the side and let dry!

This is one Pinterest project that was easy and actually turned out how it was supposed to! I also had everything on hand!

What is your favorite activity to do with shaving cream? Besides shaving ๐Ÿ™‚ย 

Erupting Sidewalk Chalk

I want to share a fun activity Monte and I did last week …ย Erupting Sidewalk Chalk

We had so much fun making a mess and painting on our patio outside. I came across this site for the recipe.

Ingredients & Directions (per color)

  • 1/4 cup cornstarch
  • 1/4 cup baking soda
  • Add coloring
  • 1/4 – 1/2 cup of water
  • Mix

When adding the water to the mixture, make sure to add it slow. I used 1/2 a cup and I think it wasn’t thick enough. I would start with 1/4 cup and then add more if you want. You want it to be thicker so it’s more like paint.

I decided to just make three colors, but you could make any and however many colors you want! You can also add glitter to the paint, and/or scents. You can also use whatever items you want, to paint with. Get creative! I had a couple of apples that were going bad, so I cut them in half, and placed a popsicle stick in them to paint with.

Monte had a blast!

After you are finished painting your masterpiece! Place vinegar in a squirt bottle and begin squirting your artwork. It will begin to fizz and bubble! I think that was Monte’s favorite part!

I definitely recommend this activity! I love how simple it is to put together, easy clean up (the rain will wash it away), and you can change up what you paint with and what colors you paint with!

Have you tried using Erupting Sidewalk Chalk before?

Turkey Plates

Tomorrow is Thanksgiving! Is everyone ready to eat lots and lots of turkey?! Monte is ready!

Excuse his snotty nose ๐Ÿ™‚

I thought I would post one final Thanksgiving activity before the big day! This project was inspired by Cheap Crafty Mama’s turkey plates.

I was a little nervous making these hand-print, foot-print turkeys not knowing how well Monte would do. He ended up being very cooperative and had lots of fun!

Supplies Needed

1. Porcelain plates for the Dollar Store

2. Acrylic paint various colors

3. Foam Brush

4. Paper plates

5. Googly Eyes

6. Hot glue gun

7. Permanent marker, puffy paint, or acrylic paint pens (something to write with)

Directionsย 

1. Gather all your supplies before you start! Because once you start, you do not want to be running around gathering more things while paint is at reach with a 2-year old! ๐Ÿ™‚

2. Squirt all your paints onto paper plates. Take your foam brush and brush the paint onto the bottom of your little ones foot. Instead of having them step onto the plate, bring the plate to their foot and make a print. Then wash off his foot!

3. Then start with the hand prints! I brushed a color on Monte’s hand, pressed it onto the plate, then immediately washed his hand off before he got paint all over our kitchen. It is helpful to have a bowl of warm water and towel near by.

Monte enjoyed the brushing of the paint because it tickled ๐Ÿ™‚

4. After we placed all of our hand prints around the foot, I went back through and filled the hand prints and foot print with paint where there were gaps.

5. Let dry over night.

6. Give your kiddos a bath because they WILL be a mess ๐Ÿ™‚

7. The next day, add your googly eyes with a hot glue gun and add your writing.

I plan to save one as a Thanksgiving decoration for years to come and giving one to my in-laws since they will be hosting Thanksgiving this year!

I hope everyone has a blessed Thanksgiving!

Grandparents Day 2013

Today is Grandparents Day! Happy Grandparents Day to all of you Grandmothers, Grandfathers, Great Grandmothers, and Great Grandfathers!

Not many are aware that there is a national holiday to celebrate grandparents. When I told my husband the other day that we were working on a project for grandparents day he was like “huh?”

It was in 1978 when Grandparents Day was officially recognized as a national holiday. It was the goal of Marian McQuade to make the youth aware and educate them the importance of seniors in our community. McQade wanted to make them aware of how much seniors have contributed to our history and also encouraged the youth to “adopt” a grandparent.

At first, Grandparents Day was only recognized by the state of West Virginia. When the idea of it being proclaimed as a national holiday was proposed and brought to the U.S. Senate, it died. McQade organized supporters, congressman, etc. in all fifty states for it to become a state holiday. Once she had proclamations of 43 states, she sent copies of the proclamations to Senator Randolph. At that time the U.S. Congress met again and requested that President Jimmy Carter sign a proclamation that proclaimed that the first Sunday after Labor Day, every year, be National Grandparents Day.

The statute cites the day’s purpose: “…to honor grandparents, to give grandparents an opportunity to show love for their children’s children, and to help children become aware of strength, information, and guidance older people can offer”.

All of this information was taken from Wikipedia and can be found here.


Grandparents Day Tiles

I have several ideas posted on my Pinterest page of ideas for gifts to give for Grandparents Day.

Monte and I found this idea here, but I changed it up a bit.

While I was at Michaels purchasing stuff for my DIY chalkboard, I picked up the supplies needed to do this project. Instead of tiles, I purchased wood squares, a can of colored spray paint, acrylic paint for Monte’s hand, and paint pens. All of this cost me about $25.00.

I then took the four boards outside and spray painted them. The spray painted I used was for indoor/outdoor use and left a glossy finish. On the can it said it dried in about 10 minutes. It DID dry quickly! I was able to get a couple coats sprayed, on both sides, in about an hour.

The next day, was the fun part! I had Travis help me with brushing paint onto Monte’s hand and placing it on the tiles. Monte did not really understand what was going on and was more interested in what the gooey stuff was on his hand.

MonteHandprint

Afterwards, I let the hand print dry then took the paint pens which are AWESOME and wrote in Grandparents Day 2013 and Love, Monte.